hot dropaggressive
Moathouse
Large northern fortress compound with high-tier loot across multiple floors. One of the most contested drops on the map. Squads who control Moathouse control the north's loot economy.
A River Divides — Bridge Control Decides
Purgatory is Free Fire's second map, featuring a distinctive layout split by a wide river that creates three major land sections. The northern half offers open, sniper-friendly terrain while the southern half packs dense, loot-rich urban combat. Bridge chokepoints between sections become the most tactically critical positions in every match — controlling a bridge means controlling the rotation.
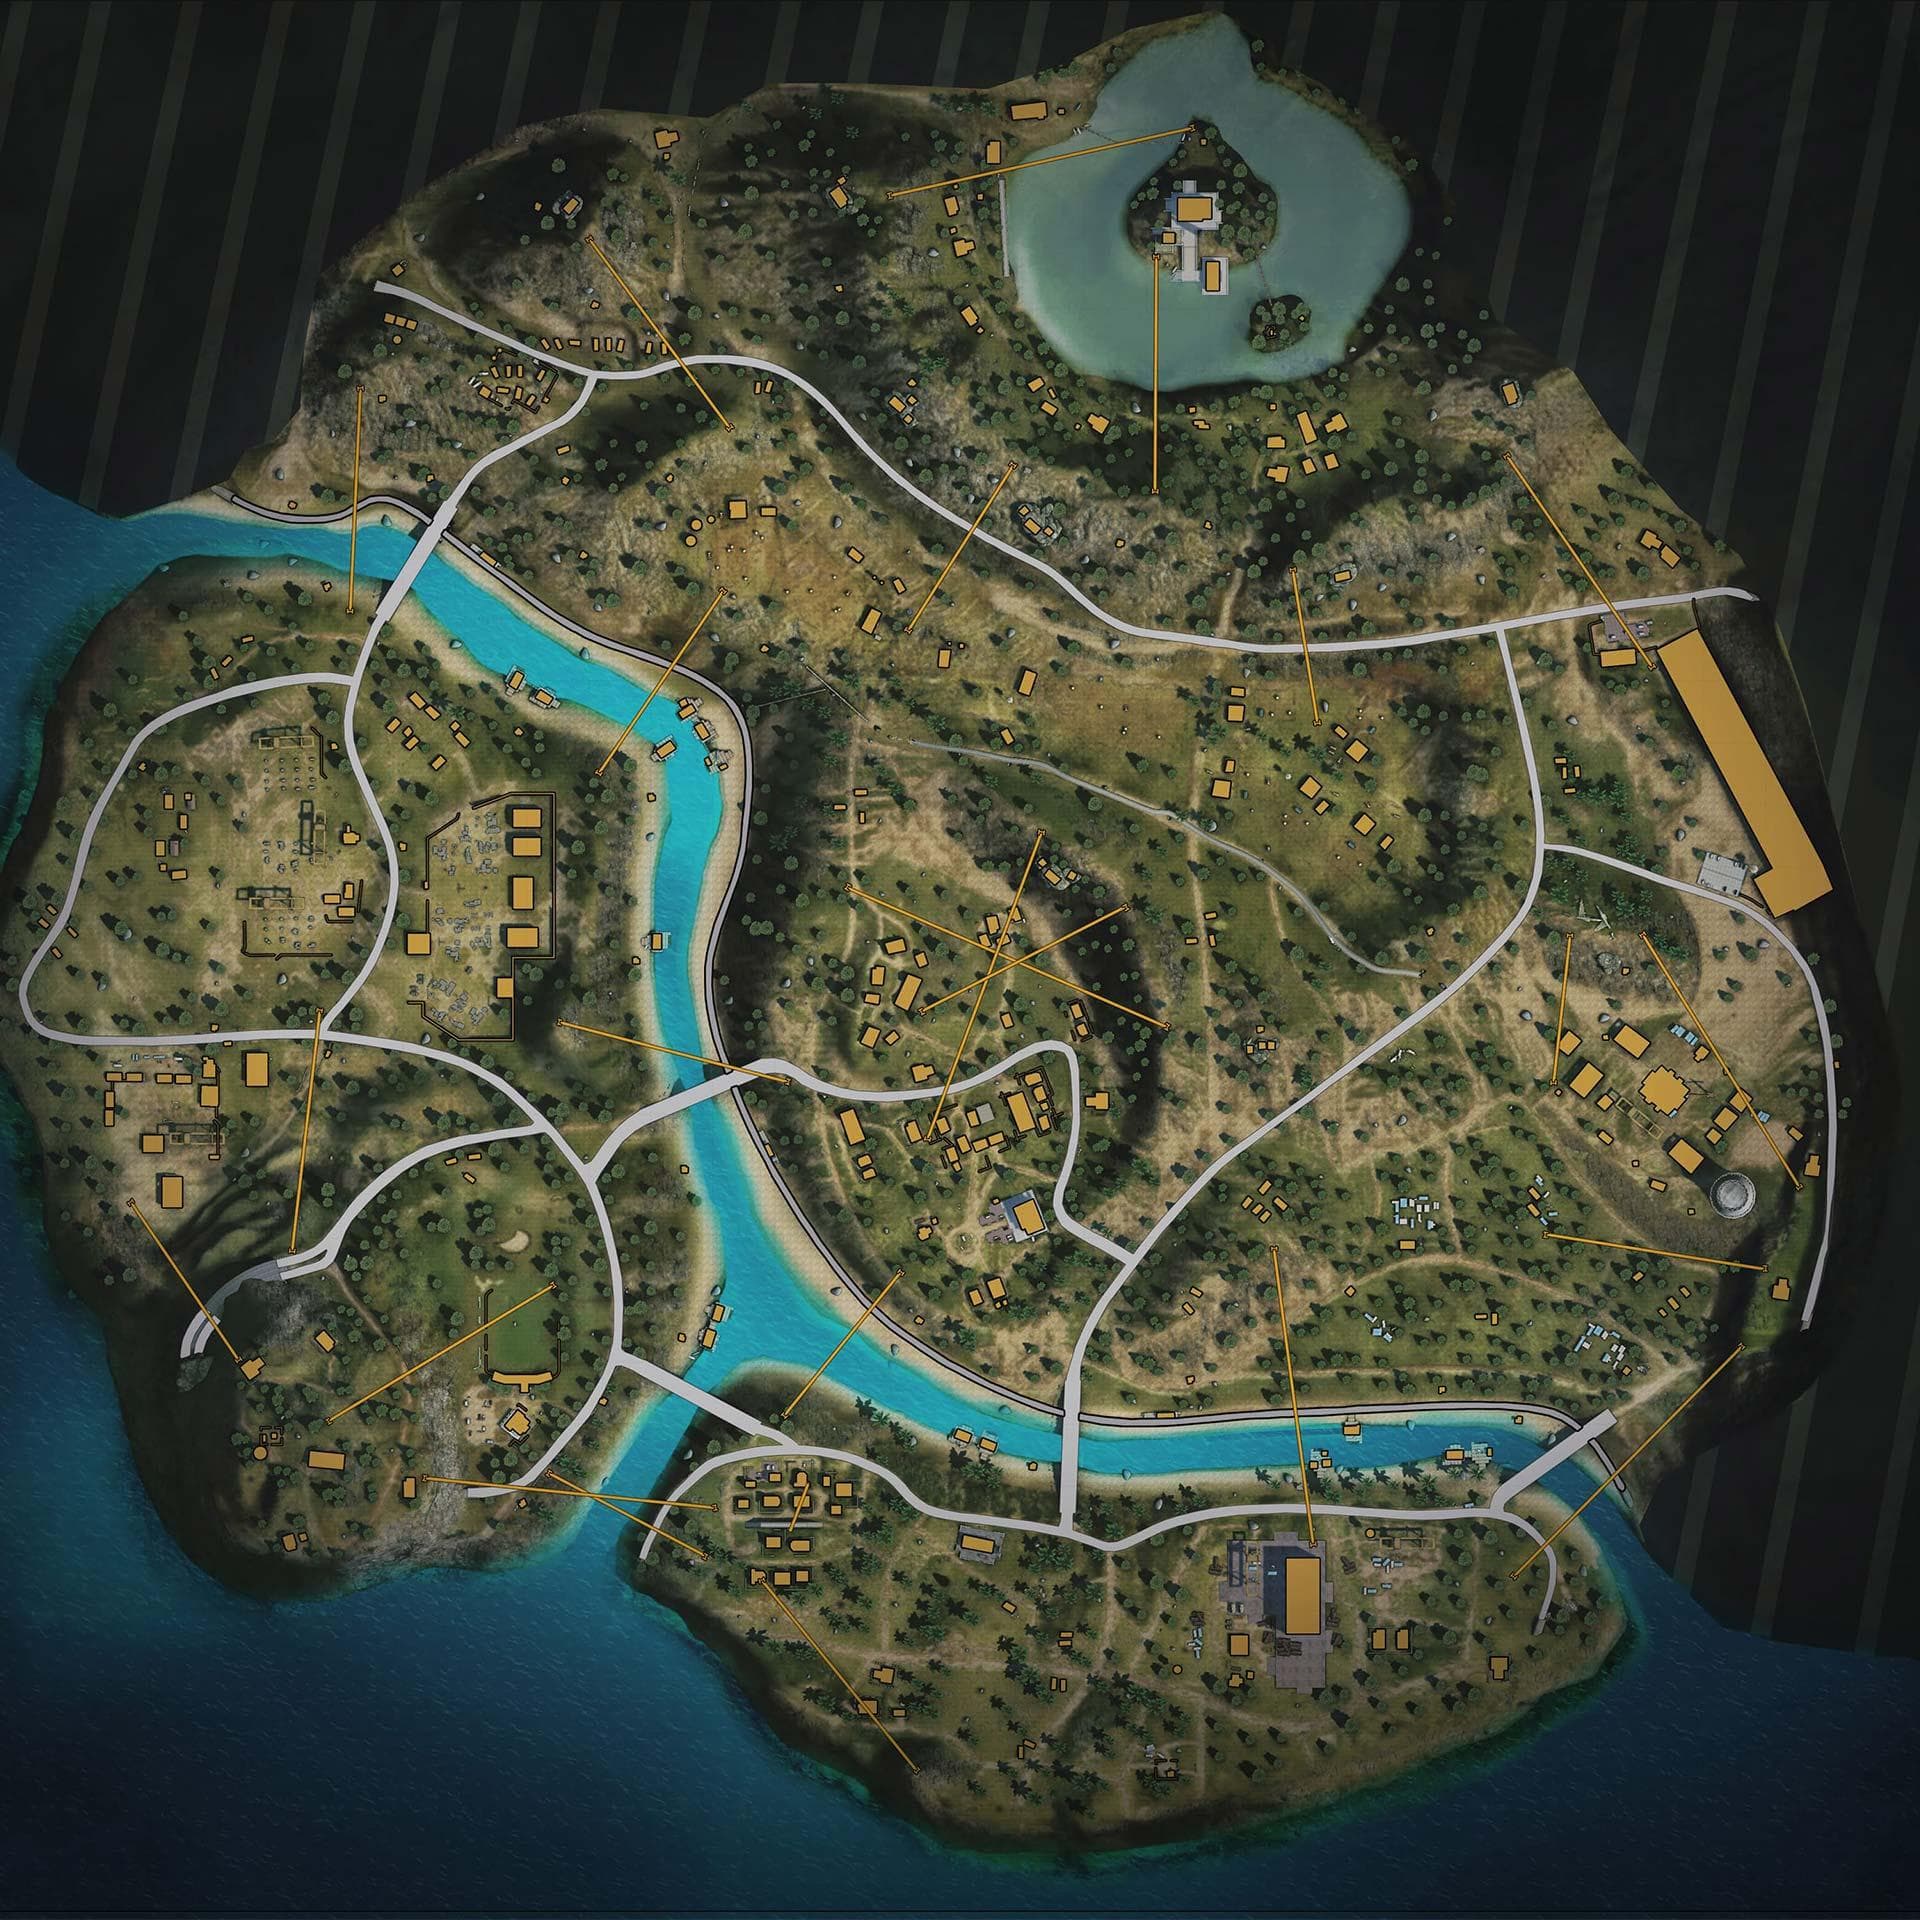
Purgatory is carefully constructed to balance drop-point selection with rapid safe-zone rotations. Controlling dynamic mechanics is crucial, and utilizing strategic heights allows squad structures to hold high-percentage control zones during closing phases.
Purgatory's name reflects its liminal, in-between nature: neither the familiar grounds of Bermuda nor the futuristic extremes of later maps. The landscape blends rural European countryside with industrial river towns and mountainous wilderness. Landmarks like Brasilia and Golf Course suggest a once-affluent region now locked in perpetual conflict.
Analyze high-traffic zones, drop safety ratings, and ideal combat styles for each notable location.
Large northern fortress compound with high-tier loot across multiple floors. One of the most contested drops on the map. Squads who control Moathouse control the north's loot economy.
Central urban zone at the map's heart. Rich loot density and natural choke points make it a perennial hot zone. Positioning around Brasilia's multi-storey buildings is key to mid-game dominance.
Heavy industrial eastern zone with forge facilities and warehouses. High-grade weapon loot and constant early pressure. Pairs well with a rotation toward Forge then Campsite.
Geographic centre of the map, offering balanced loot and flexible rotation options to any quadrant. Lower traffic than Brasilia but still a contested mid-game position.
Southeast wood processing zone with spread-out loot in large open structures. Moderate competition allows careful looting. Good rotation point toward Fire Brigade and the river bridges.
Southern fire station complex with solid loot and strong defensive angles from the vehicle bay. A versatile zone for both aggressive rotators and passive survivors.
Eastern outdoor camp with scattered loot and natural rock cover. Lower danger than Forge but provides an easy route to the eastern bridge crossing.
Open northern agricultural land between Crossroads and Moathouse. Sparse buildings but reliable loot crates. Vehicles are essential here due to exposure in open terrain.
Southwest leisure facility with open fairways and clubhouse buildings. Low player traffic and decent loot make it ideal for rank-push strategies. Long sightlines across the fairway reward snipers.
Hillside mansion in the southwestern corner. Elevated position with good defensive potential. Rarely contested — perfect for squads that want a clean gear-up before rotating toward Central.
Western rock quarry with natural stone cover and scattered loot. Extremely low traffic. Use vehicle routes to rotate north or southeast toward more active zones.
Northern intersection zone connecting Moathouse, Fields, and the river bridges. Critical rotation choke point — expect ambushes at the bridge entry when rotating south.
Eastern highland resort with consistent loot in ski lodge buildings. Elevated terrain provides sniping angles across the eastern approach. Less contested than Forge but tactically strong.
Central-west marble processing facility. Good mid-tier loot and a bridge crossing route. Use the factory structures for defensive holds when rotating south.
Detailed gameplay walkthroughs tailored for competitive squad configurations and beginner adaptation.
On Purgatory, cross the river early — waiting too long means fighting through a fortified bridge in the final circles. Establish position south of the river after initial looting and use zip lines to reposition vertically when under pressure. The safe zone tends to collapse toward the central river zone in the late game, so position along the southern bank of the middle bridge early.
Land at Golf Course, Mt. Villa, or Quarry. These southwestern zones are calm and provide enough loot to survive the early game. Avoid the bridges early — they are ambush hotspots. Use the roads to navigate south toward Central and Fire Brigade when the safe zone dictates.
Control Moathouse in the north for strong early loot, then use a vehicle to cross the middle bridge before the rotation crunch. Set up a sniper overwatch at the bridge while your squad flanks enemies who are still crossing. In final circles, the elevated terrain around Ski Lodge gives an eastern high-ground advantage worth fighting for.
Load Purgatory onto the interactive tactical planner to draw squad routes, custom drop markers, and rotation targets.
The three river bridges are the map's most critical positions. Holding a bridge during the final three circles — with a sniper on overwatch and two players covering flanks — is a reliable strategy for top placements.
Purgatory's zip lines allow fast repositioning that can bypass enemy positions entirely. Learn the zip line locations in each zone and use them to avoid predictable ground-level rotation paths.
Decide your playstyle before dropping. North suits snipers and passive survivors who want clean loot and open sightlines. South suits aggressive squads who thrive in close-range urban fighting.
The northern section's open terrain makes you highly vulnerable on foot. Always secure a vehicle when looting Fields, Crossroads, or the zones between bridges. A motorcycle or Jeep changes your rotation options entirely.
Common tactical queries regarding map details, drop tactics, and strategic considerations.
The river system dividing the map into three sections forces all squads through bridge chokepoints, creating predictable conflict zones and making bridge control a central strategic element absent from Bermuda.
Yes — more so than on Bermuda. The northern open terrain is dangerous to cross on foot, and vehicle-assisted rotations to bridge positions are essential for competitive play.
Establish a river bridge position early in the late game. Control the high ground adjacent to a bridge crossing and hold defensive cover while enemy squads are forced through the open.